
Moving out of your rental property comes with plenty of challenges, and end-of-lease cleaning is undoubtedly one of the most daunting ones. It’s the final test before you hand over the keys, and getting it right is crucial if you want to secure your full security deposit and leave on good terms with your landlord.
This comprehensive guide will walk you through the importance of end-of-lease cleaning, offer a detailed checklist to follow, and share expert tips to make it as stress-free as possible.
Why End of Lease Cleaning is Crucial
End-of-lease cleaning isn’t just about tidying up; it’s about meeting the expectations set by landlords and property managers. Here’s why it matters:
- Deposit Protection: A clean property is key to ensuring you get your full security deposit back. Landlords can deduct a portion of the deposit if cleaning standards aren’t met.
- Good References: A spotless rental history leads to glowing references, which can make securing your next property easier.
- Avoid Deductions: Landlords are within their rights to charge you cleaning fees if the property isn’t returned in an acceptable condition. Getting ahead of this saves you money.
A well-organized, thorough cleaning strategy is essential to ensure you fulfill your lease obligations and avoid any disputes.
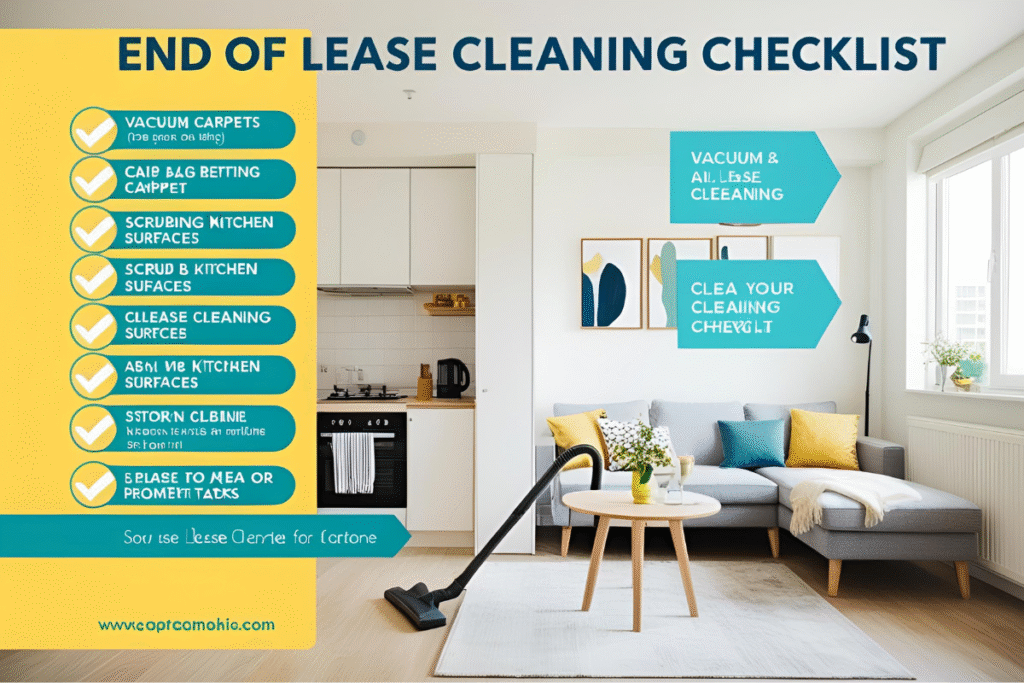
End of Lease Cleaning Checklist
It’s time to get down to business! Follow this detailed cleaning guide to tackle every corner of your rental property.
General Cleaning
- Remove all personal belongings and furniture: Clear out the space completely to make cleaning more efficient and thorough. This includes furniture, décor, and any other items that might obstruct your cleaning.
- Dust thoroughly: Pay attention to often-overlooked areas such as baseboards, ceiling fans, light fixtures, vents, and blinds. Use a duster or microfiber cloth to ensure no area is left untouched, as accumulated dust can reduce air quality.
- Vacuum and mop floors: Whether you’re working with hardwood, tiles, or carpets, take the time to vacuum all corners and edges. Follow up with mopping for hard floors to remove any remaining dirt or stains, leaving the floors looking spotless.
- Clean windows and mirrors: Use a high-quality glass cleaner and a microfiber cloth for streak-free shine. Don’t forget the edges and frames, which can collect dirt and grime over time.
- Check for cobwebs: Look closely at the high corners of every room and around ceilings, as cobwebs can easily be missed if not inspected carefully. Be sure to also check behind furniture or in less-used spaces.
- Wipe down surfaces: This includes window sills, shelves, doors, and other flat surfaces that might gather dust or fingerprints. Use an appropriate cleaner for the material to avoid damage and leave everything looking polished.
Kitchen Cleaning
Kitchens often require extra effort due to grease and food residue. Here’s your kitchen-specific checklist:
- Wipe down countertops and cabinets: Use a damp cloth and a gentle cleaner to thoroughly wipe down countertops and the outside of cabinets. Don’t forget to clean inside the cabinets to remove dust, crumbs, and any spilled food or ingredients.
- Scrub appliances: Give your appliances a deep clean. Scrub the oven and stovetop to remove grease and burnt-on food, clean the range hood to get rid of accumulated grime, and thoroughly wipe down the microwave, including the turntable and walls.
- Defrost and clean the fridge and freezer: Take out all food items and place them in a cooler if necessary. Defrost the freezer if needed, and wipe down every surface inside the fridge and freezer with a mild cleaning solution. Check for expired items before putting food back.
- Sanitize the sink and taps: Use a cleaning solution to scrub the sink and taps, removing any limescale buildup and stains. Don’t forget to clear and clean the drains of debris to ensure they stay odor-free and fresh.
- Clean the dishwasher: Run an empty cycle with a dishwasher cleaner or vinegar to remove any buildup. Carefully wipe down the seals, spray arms, and racks to get rid of any residue or grime hiding in hard-to-reach places.
Bathroom Cleaning
Bathrooms are heavily inspected during final inspections, so don’t skip any corners:
- Scrub toilets, showers, and bathtubs: Use a powerful cleaner to remove soap scum, hard-water stains, and grime. Pay special attention to under the toilet rim and corners of the bathtub for a thorough clean.
- Disinfect surfaces: Focus on high-touch areas like countertops, sinks, and taps. Use a disinfectant spray or wipe to kill germs and bacteria, ensuring these surfaces are hygienic.
- Clean mirrors and shower doors: Use a streak-free glass cleaner or a vinegar-water solution to remove streaks, watermarks, and smudges, giving them a crystal-clear finish.
- Remove mold and mildew: Inspect tiles, grout lines, and corners for signs of mold or mildew. Scrub with a mildew remover or a baking soda and vinegar paste to leave them spotless and fresh.
- Wipe down cabinets and shelves: Empty out all contents, discard expired products, and clean the interiors and exteriors thoroughly with a mild cleaner to remove dust and stains.
- Clean exhaust fans and light fixtures: Detach covers or panels if possible and gently clean with a microfiber cloth or duster. This will improve airflow and brighten up the space by removing dust and dirt from these often-overlooked areas.
Bedrooms and Living Areas
Bedrooms and living spaces also require your attention:
- Dust and clean furniture: Thoroughly dust all wardrobes, drawers, shelves, and other furniture surfaces. Pay special attention to corners and edges where dust tends to accumulate. Use a microfiber cloth or appropriate cleaning tools to ensure a spotless finish.
- Remove wall marks: Check walls for scuffs, small marks, or stains. Use sugar soap, a damp cloth, or any recommended cleaning product to gently remove these marks (if cleaning is allowed). Be careful not to damage paint or wallpaper.
- Inspect light fixtures and bulbs: Examine all light fittings, lampshades, and bulbs. Wipe down fixtures to remove accumulated dust or grime, and replace any dead or dim bulbs to ensure proper lighting throughout.
- Vacuum or clean window treatments: Don’t forget curtains, blinds, or other window coverings. Vacuum fabric curtains carefully, launder them if needed, and wipe down blinds with a damp cloth to remove dust and dirt. Clean windowsills and tracks while you’re at it for a polished look.
Additional Areas and Details
To ensure a fully polished look, tackle these additional tasks:
- Clean air-conditioning units and vents: Regularly dust vents and replace filters to ensure the system runs efficiently and maintains clean air quality in your home. This will also help extend the lifespan of your unit.
- Repair minor damage: Patch up small holes left by nails, screws, or hooks on your walls. Apply a fresh coat of paint to cover any scuffs or marks, creating a smooth and polished look.
- Dispose of rubbish: Clear out all garbage from your home, ensuring both indoor and outdoor bins are emptied and cleaned. This step helps remove any lingering odors and keeps your space tidy.
- Clean outdoor spaces: Thoroughly sweep patios, porches, and decks. Use a hose or pressure washer to clean paved areas and remove stubborn dirt, moss, or debris for a refreshed outdoor space.
- Garage and storage areas: Take the time to sweep out the garage, removing any dust or cobwebs. Wipe down built-in shelving or storage units, and organize your belongings to maximize space and functionality.
Final Inspection and Handover
Once the cleaning is complete, take these steps to ensure a smooth and hassle-free handover:
- Walkthrough: Conduct a detailed final walkthrough of the property to ensure every area, including overlooked spots like baseboards, windowsills, and inside cabinets, is spotless and up to standard. This is your chance to double-check everything before the handover.
- Return keys and remotes: Collect and organize all keys, remotes, and access cards that need to be handed back. Make sure nothing is missing as this could delay the handover process or incur additional charges.
- Address last-minute concerns: Be available to address any cleaning issues or overlooked areas noted by your landlord or property manager during the inspection. Promptly resolving any concerns can help avoid disputes and ensure your security deposit is returned in full.
Should You Hire a Professional Cleaner?
While DIY cleaning is feasible, professional cleaning services can save time and effort while guaranteeing impeccable results. Here are the advantages of hiring pros:
- Comprehensive Bond Cleans: Many professional cleaners specialize in end-of-lease cleaning and know exactly what landlords expect.
- Time Savings: With professionals handling the cleaning, tenants can focus on other aspects of moving.
- Bond Back Assurance: Many cleaning companies offer a bond-back guarantee, ensuring you get your full deposit returned.
Example
For instance, MaidForYou, a Sydney-based cleaning service, provides detailed end-of-lease cleaning packages starting from $390. These packages include everything from window washing to oven scrubbing, ensuring properties meet rental inspection standards.
Expert Tips for a Stress-Free End of Lease Clean
Make your move-out cleaning process more manageable with these simple tips:
- Start Early: Begin your cleaning process as soon as possible. Breaking cleaning tasks into smaller chunks not only makes them more manageable but also prevents last-minute stress. Planning ahead gives you enough time to pay attention to areas that might otherwise get overlooked.
- Clean Room by Room: To stay organized and efficient, focus on one room at a time. This method helps you maintain a clear sense of progress and ensures no area is left incomplete. Finish one space before moving on to the next for a more systematic approach.
- Use the Right Tools: Equip yourself with the right cleaning supplies for an effective deep clean. Microfiber cloths are perfect for picking up dust without leaving streaks, while sugar soap works wonders on tough stains or greasy surfaces. Glass cleaner ensures windows and mirrors sparkle like new.
- Don’t Forget the Details: The little things matter. Take the time to clean inside drawers, wipe down light switches, and scrub baseboards. These small touches not only enhance the overall cleanliness of the space but also leave a lasting impression.
- Document Your Cleaning: Once everything is spotless, take photos of your cleaned property from different angles. These images can serve as proof of your work in case there are any disputes or questions later about the state of the space. It’s a simple but important step for your peace of mind.
Get Your Full Deposit Back
Completing a thorough end-of-lease clean is a surefire way to leave your rental property on a positive note while securing your full bond refund. By following this checklist and considering professional services, you can stress less about cleaning and focus more on settling into your new home.
If you’d rather leave the cleaning to experts, why not book a professional end-of-lease clean today? Services like MaidForYou can ensure your property meets all requirements and save you hours of effort. Start your move-out process stress-free and guarantee results.
Frequently Asked Questions about End of Lease Cleaning Checklist
What is an end-of-lease clean?
An end-of-lease clean is a thorough cleaning of your rental property, ensuring it meets the standards outlined in your lease agreement. This typically includes deep cleaning of all rooms, carpets, windows, bathrooms, and kitchens to ensure the property is spotless for the next tenant.
Why is an end-of-lease clean important?
A proper end-of-lease clean is often necessary to secure your full bond refund. Landlords or property managers typically require the property to be returned in the same condition as when you moved in, excluding normal wear and tear.
Can I do the end-of-lease cleaning myself?
Yes, you can perform the cleaning yourself, but it’s crucial to meet the specific cleaning standards set in your lease agreement. If you’re short on time or want to ensure the job is done professionally, hiring a cleaning service may be your best option.
What areas are included in a professional end-of-lease clean?
Professional cleaning services usually cover all essential areas, including bathrooms, kitchens, living spaces, and bedrooms. Additional services like carpet steam cleaning, window washing, and external areas may be included or available for an extra cost.
How much does a professional end-of-lease clean cost?
The cost can vary based on the size of your property, its condition, and the services required. It’s best to request a quote from the cleaning service to determine the exact cost for your specific needs.
When should I book a professional cleaning service?
To ensure availability, it’s a good idea to book your cleaning service as early as possible, especially during peak moving seasons. Ideally, schedule the clean for the final day of your lease or shortly before handing over the keys.
What happens if the cleaning doesn’t meet the landlord’s standards?
Reputable cleaning companies often provide a guarantee for their service. This means they will return to address any issues if the property manager or landlord finds areas that don’t meet the required standards. Be sure to confirm this guarantee when booking a service.

Why Villas in Hua Hin Are the Smart Choice for Foreign Buyers

How to Buy a Property in Pattaya as a Foreigner

Top Areas to Buy Property in Pattaya for 2026

Best Areas to Buy Property in Bangkok 2025

What to Look for When Buying a House in Hua Hin (2025)
For decades, Hua Hin has stood out in Thailand’s real estate market. Its history with…

Top Areas to Buy a Property in Phuket in 2025
Phuket has long been celebrated for its stunning beaches and vibrant culture, but it’s now…